Although not in our supply chain, we have had a few questions regarding other types of flange bolting and installation. Here is a basic guide to exhaust flange assembly.
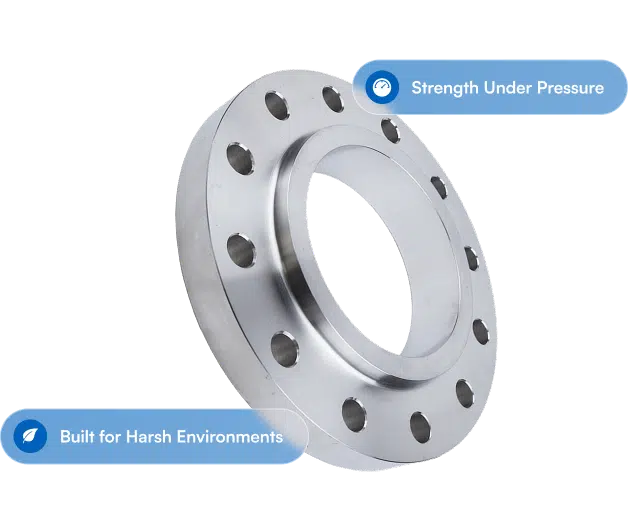
Exhaust flanges consist of a pair of metal sections that join your exhaust pipe together. They are helpful in conjunction with an exhaust set of bolts and gaskets. The usual options of exhaust flanges are the 3 bolt or 2 bolt types. Usually, m10 with the 2 bolt option is helpful, and an m8 bolt for the 3 bolt. The recommended grade of bolts is 8.8 tensile or higher so that you can tighten them without stretching or breaking the bolts. There is also the use of locking nuts, Loctite, or spring washers. It helps to prevent the nuts from vibrating loose.
How Exhaust Flanges Work
Exhaust flanges work with the use of a set of bolts and gaskets to join them together. When you set up a wastegate pipe or exhaust for ease of fitment, you must use v bands or exhaust flanges to enable the sections to re-fit or pull off for access. You can also use exhaust flanges without gaskets, and for that, you need to use automotive-grade silicon.
Welding Exhaust Flanges
Welding exhaust flanges are almost the same thing as welding v band flanges. The essential factor to start with is tack welds every 20-30mm. This helps prevent distortions with the flange and let it cool down between welding.
How to Remove the Exhaust Flange Bolts
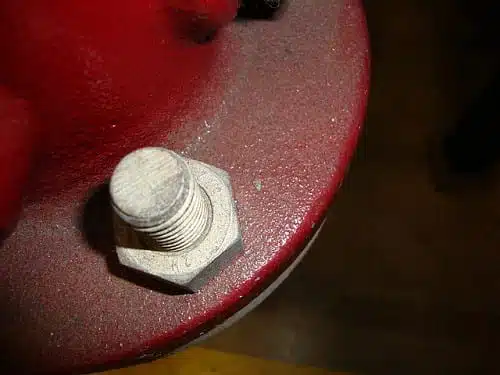
The changing temperatures from cold to hot of the exhaust system together with changing moisture conditions can result in speeding up the rusting of the flange bolts. Once the rust reaches the threads, they can stop being useful. To replace the flange bolts. You need to apply heat to remove the rust from the threads. If the threads are unusable, you need to cut the bolts from the flange.
Follow these easy steps to remove the exhaust flange bolts:
- Step 1: Check For fuel lines and combustibles Check The area around the flange bolts to ensure there are no fuel lines or combustibles. It is essential to clear all combustibles from your work area.
- Step 2: Wear Protective gear Use Gloves, goggles, and other PPE to protect your hands and eyes.
- Step 3: Prepare A fire extinguisher Have A fire extinguisher close in case the fire starts.
- Step 4: Ignite The torch Ignite The torch carefully. Make sure that the bright blue flame is half or one inch long.
- Step 5: Apply Heat to the bolt The Tip of the torch must be 6–8 inches away from the flange bolt until the bolt develops a dull orange color.
- Step 6: Let The bolt cool and use the socket Let The flange bolt cool down and place the socket that fits the bolt on the ratchet.
- Step 7: Try To loosen the bolt Slide The socket to the nut that is on the flange bolt. If the bolt loosens, continue with the same process for the rest of the bolts. If it doesn’t budge, go to the next step.
- Step 8: Reignite And reposition Keep The tip 3–4 inches closer and set the flames again.
- Step 9: Reheat And use air Heat The bolt once again and when it turns to a bright orange glow, use the air to trigger and blow out more oxygen. The bolt should then start to meltdown.
- Step 10: Hammer The bolt out Turn Your torch off and quickly hammer the threaded side of the flange bolt. Repeat the process until the bolt is out of the exhaust.
- Step 11: Let The bolt cool Let The hot bolt cool down for around thirty minutes. Make sure no combustible materials are lying around before you leave the area.
- Step 12: Dispose Of safely Wait Another hour or two before you throw the bolts out to ensure that the bolts are at room temperature and won’t cause fires in the garbage bin.
Conclusion
If the problem persists and it becomes impossible to remove the exhaust flange bolts, it is better to consult professionals. Contact your local supplier for more information.